


Best Cleaning Tablets for Baby Bottles in 2026
Find the best cleaning tablets for baby bottles. Compare formulas, safety standards, and what really works for busy parents in ...

Malaysia opens my.nuviebaby.com, prices in RM.

You've just finished a feed. The baby's finally settled. And now there's a bottle sitting in the sink, milk residue already crusting around the nipple. Again. You'll wash eight of these today. Tomorrow, another eight. Next week, fifty-six. By three months, you'll have scrubbed over 700 bottles. No one tells you that bottle washing becomes the background noise of early parenthood, the chore that never actually ends. An infant bottle cleaner-whether it's a brush, a basin, or an actual machine-becomes one of your most-used tools. Here's what actually works, what wastes your time, and how to keep your baby safe without losing your mind.
Babies have immune systems that are still learning to function. Their gut barriers are permeable, their antibodies limited. A bottle that looks clean can still harbour bacteria, yeast, or mould that makes an adult shrug but puts an infant at serious risk of diarrhoea, vomiting, or worse.
The CDC recommends cleaning infant feeding items thoroughly after every single use. Not just rinsing. Not just running water over it. Actually disassembling, scrubbing, and sanitizing each component.
Clean means three things:
Miss any one of these steps, and you're just moving germs around. Milk fat clings to silicone. Threads trap liquid. Valve slits hide bacteria. An infant bottle cleaner has to tackle all of it, or it's not doing the job.
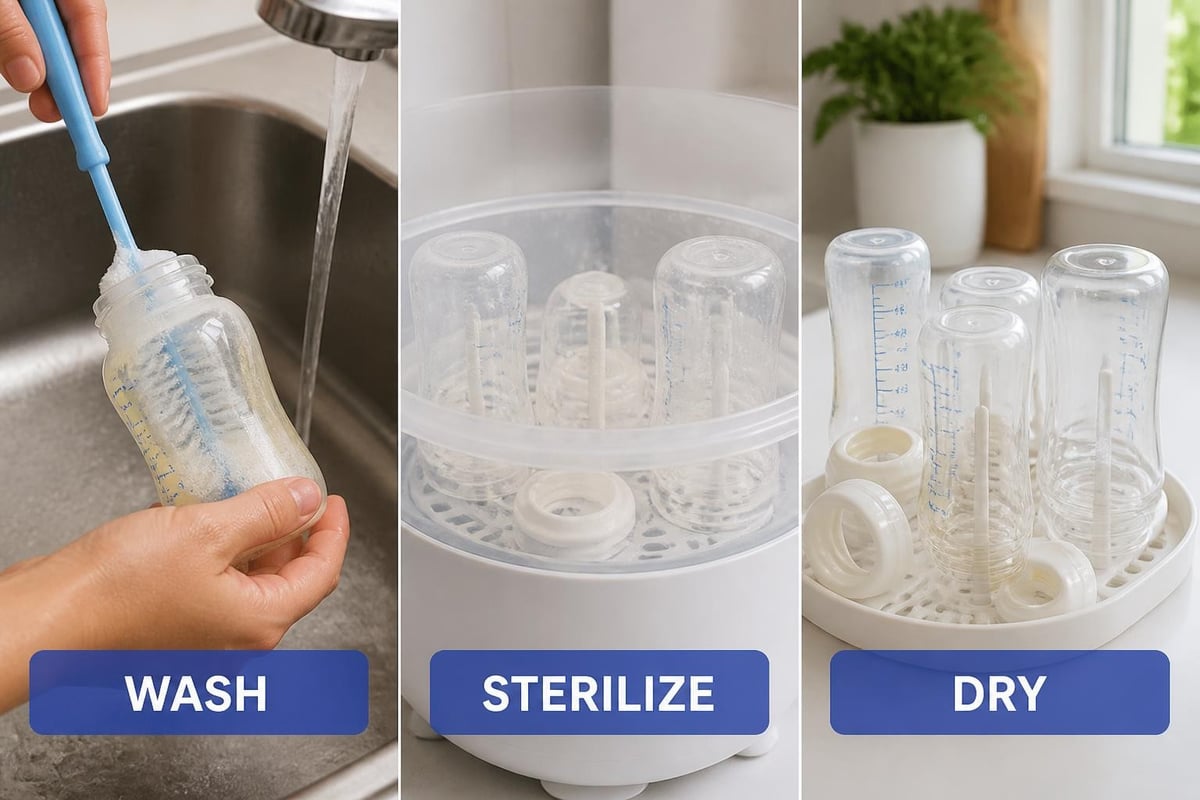
Not all infant bottle cleaners are created equal. Some are brilliant. Some are a waste of counter space. Here's what's out there.
The most basic infant bottle cleaner is a bottle brush. You'll need at least two: one for bottles, one for nipples and valve parts.
What to look for:
Manual cleaning works. It's cheap, portable, and gives you control. But it's also relentless. Every bottle. Every nipple. Every valve. Every pump part. Twice a day becomes six times. Six becomes ten if you're exclusively pumping.
You'll spend 10–15 minutes per session just scrubbing. That's over an hour a day. Understanding when to replace bottles helps reduce the total workload, but manual cleaning still adds up fast.
A dedicated washing basin keeps bottle-cleaning separate from regular dishes. Some parents swear by it. Others find it just creates another thing to clean.
Pros:
Cons:
Use a detergent designed for baby items, not regular washing-up liquid. Baby-safe formulas rinse cleaner and don't leave residue that can upset tiny stomachs.
Steam sterilizers kill 99.9% of bacteria using high-temperature steam. They're faster than boiling and gentler on bottle materials than chemical sanitizers.
Most hold 4–6 bottles and run a cycle in 8–12 minutes. You still have to wash the bottles first. The sterilizer only sanitizes. It doesn't clean milk residue.
Best for: Parents who hand-wash but want a reliable sanitizing step without boiling a pot every time.
| Sterilizer Type | Cycle Time | Capacity | Requires Pre-Wash |
|---|---|---|---|
| Microwave steam | 3-8 min | 4-6 bottles | Yes |
| Electric steam | 8-12 min | 4-8 bottles | Yes |
| UV sterilizer | 10-15 min | 6-10 bottles | Yes |
If you've got a dishwasher, you've got an infant bottle cleaner. Use a basket to keep small parts from falling through the rack, and run bottles on a hot cycle with a heated dry.
The NHS advises using a dishwasher at 65°C or higher to properly sanitize baby bottles. Most modern dishwashers hit that temperature on the normal or sanitize cycle.
Pros:
Cons:
If you're running 2–3 loads a day, the dishwasher becomes your most-used appliance. But it still requires you to rinse, load, unload, and check each part. It's better than hand-washing everything, but it's not hands-off.
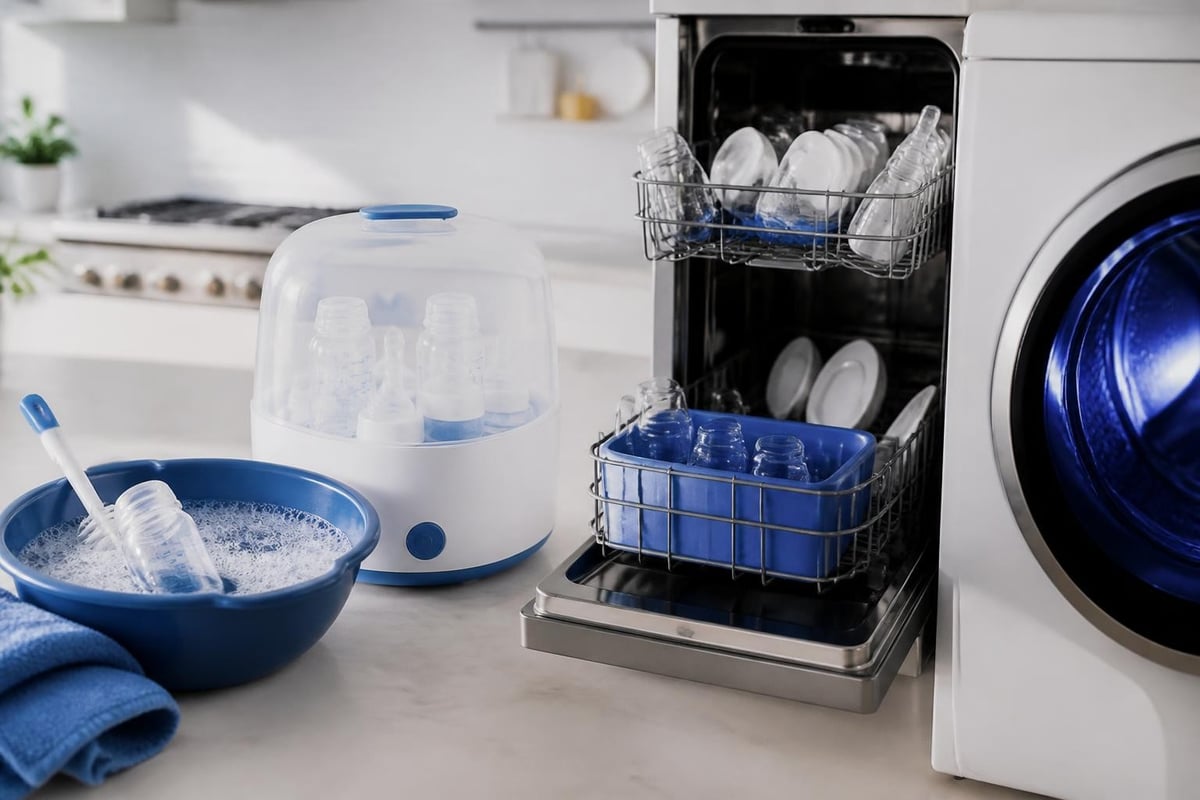
Some parents want washing off their plate entirely. That's where 4-in-1 countertop machines come in. These units wash, steam-sterilize, dry, and store bottles in a single cycle.
The nuviebaby Clean is built exactly for this. It uses 360° high-pressure spray jets to clean, steam to sanitize, HEPA-filtered air to dry, and sealed storage to keep bottles sterile for up to 72 hours. Load it, press start, walk away. One hour later, everything's clean, dry, and ready.
It holds up to 8 bottles or a full set of pump parts. For parents washing multiple times a day, it removes the single most repetitive chore. No scrubbing. No hand-drying. No leaving bottles on the counter to air-dry while hoping the cat doesn't investigate.
Who it's for:
The machine uses proprietary low-foam tablets designed not to damage the internal components or leave residue. Standard dish detergent will void the warranty and potentially harm your baby's bottles.
Your best infant bottle cleaner depends on how many bottles you're washing, how much counter space you have, and how much time you want to spend on this task.
A bottle brush, basin, and steam sterilizer will do the job. You'll spend 15–20 minutes per session, but the upfront cost is low and the setup is simple.
Consider a dishwasher if you have one, or a steam sterilizer with a larger capacity. You'll still be rinsing and loading, but you'll cut active scrubbing time in half.
You need either a second dishwasher or an automated infant bottle cleaner. Washing this volume by hand will consume 60–90 minutes of your day. Every day. For months.
An automated system pays for itself in time saved within the first month. Do the maths: 60 minutes a day over 12 months is 365 hours. That's over 15 full days of your life spent scrubbing bottles.
Pump parts add another layer of complexity. Flanges, valves, backflow protectors, bottles, and nipples. The CDC provides specific guidance on breast pump hygiene, emphasizing thorough cleaning after every use.
An infant bottle cleaner that accommodates pump parts and has adjustable racks makes this manageable. Otherwise, you're washing 15–20 individual components per pumping session.
Sanitizing is not optional. Washing removes milk and visible residue. Sanitizing kills the pathogens you can't see.
Boiling: Submerge bottles and parts in boiling water for 5 minutes. Free, effective, but requires constant attention and degrades plastic over time.
Steam sterilizing: Uses steam at 100°C to kill bacteria. Gentler on materials, faster than boiling, and more consistent.
Dishwasher sanitize cycle: Heats water to 65–70°C and holds it there long enough to kill most bacteria. Effective if your dishwasher has a true sanitize cycle (not just a hot rinse).
Cold-water sterilizing solutions use diluted bleach or proprietary chemicals. Effective, but requires a 30-minute soak, thorough rinsing, and introduces chemicals that some parents prefer to avoid.
Most health authorities recommend heat over chemicals when possible. Steam is faster, doesn't require rinsing, and doesn't leave residue.
| Method | Time Required | Effectiveness | Material Impact |
|---|---|---|---|
| Boiling | 5 min | 99.9% | Degrades plastic |
| Steam sterilizer | 8-12 min | 99.9% | Gentle |
| Dishwasher | 90+ min | 95-99% | Moderate |
| Chemical | 30+ min | 99.9% | Requires rinse |
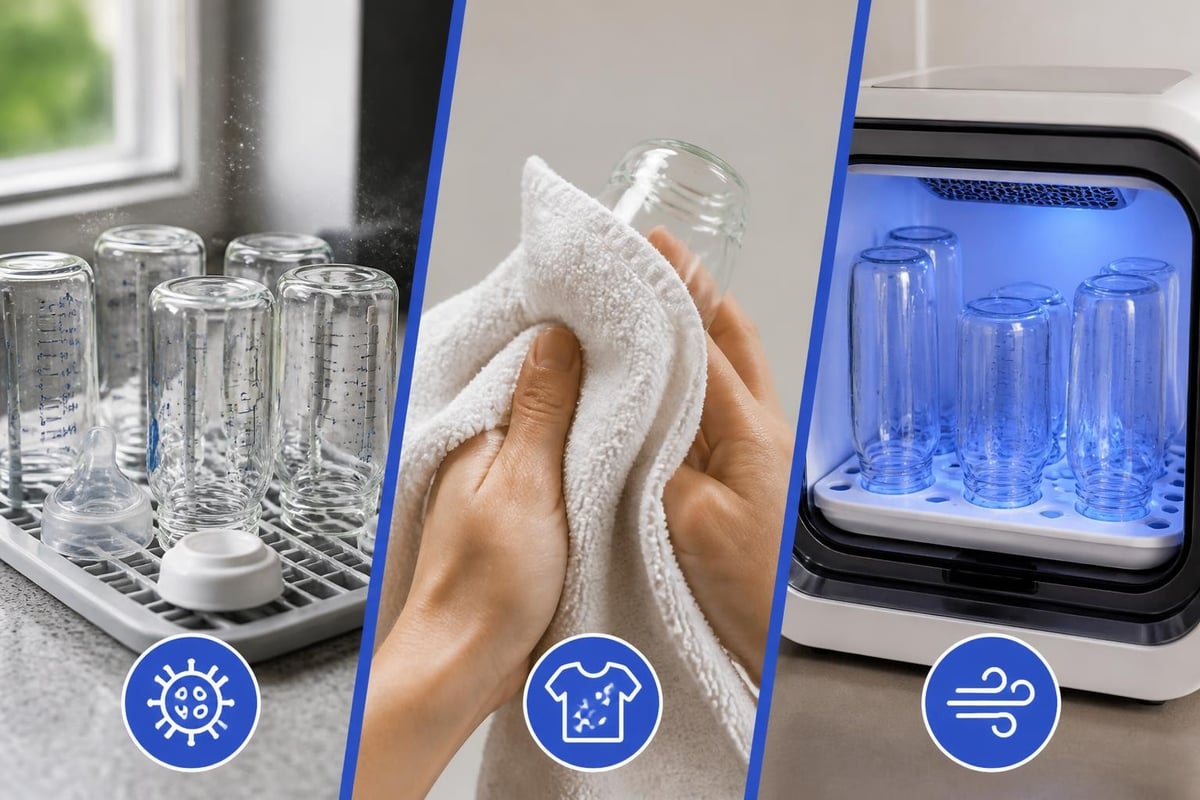
A bottle that's clean but wet is a breeding ground for bacteria. Mould grows in moisture. Bacteria multiply. Drying is not optional.
Air-drying on a rack works, but it takes hours and leaves bottles exposed to dust, pet hair, and airborne contaminants. It also requires counter space and a drying rack that itself needs regular cleaning.
HEPA-filtered drying (used in automated systems) blows purified air through bottles and parts, drying them completely in 20–30 minutes. It's faster, cleaner, and doesn't require you to remember to put bottles away before the next feed.
You're doing the work. Make sure it's actually effective.
Cold water and a quick rinse don't remove milk fat. You need hot water, detergent, and physical scrubbing to break down proteins and fats. Rinsing just dilutes the mess.
Nipple holes. Valve slits. Bottle threads. These are where bacteria hide. If your brush isn't reaching them, your bottles aren't clean.
Harsh detergents leave residue. Foaming dish soap can damage steam sterilizers. Use a baby-safe, low-residue formula designed for infant feeding items.
Your bottle brush, basin, and drying rack are covered in the same bacteria you're trying to eliminate. Sanitize cleaning tools weekly by boiling, running them through the dishwasher, or soaking in a sterilizing solution.
Putting a damp bottle in a cupboard invites mould. If you're air-drying, wait until bottles are completely dry before storing. If you're using an automated system with sterile storage, this step is built in.
The first three months are the highest-risk period. Babies are most vulnerable to infection, and you're feeding every 2–3 hours around the clock. You'll wash more bottles in those 12 weeks than in the rest of the first year combined.
After six months, once your baby starts solids and feeds less frequently, bottle washing becomes slightly less relentful. But it's still daily. It's still repetitive. And an infant bottle cleaner that worked at two weeks still works at eight months.
Twins or triplets multiply the workload. If you're feeding two babies, you're washing 12–16 bottles a day. A manual setup isn't realistic. You'll need either multiple sterilizers running in rotation or a high-capacity automated system. For more tips on managing multiple bottle-feeding routines, read about best practices for bottle washers.
Whatever system you choose, it needs maintenance. Dishwashers need filter cleaning. Sterilizers need descaling. Automated machines need regular filter changes and descaling to prevent mineral buildup.
Hard water areas require more frequent descaling. If your kettle builds up limescale, your infant bottle cleaner will too. Monthly descaling keeps performance consistent and extends the machine's life.
Replace HEPA filters as recommended (usually every 6 months). A clogged filter reduces drying efficiency and can introduce contaminants back into clean bottles.
Once bottles are clean, dry, and sterilized, they need to stay that way until the next feed. The CDC advises storing cleaned bottles in a clean, protected area to prevent recontamination.
Avoid storing bottles in the same cupboard as cleaning products, pet supplies, or anything that could transfer odours or contaminants.
Even with perfect cleaning, bottles don't last forever. Plastic degrades. Silicone nipples develop micro-tears. Cloudiness, discolouration, cracks, or a persistent odour all signal it's time to replace.
Most manufacturers recommend replacing bottles every 4–6 months and nipples every 6–8 weeks. Valve parts and seals should be inspected weekly and replaced at the first sign of damage.
Your primary infant bottle cleaner might not be available during travel or emergencies. Have a backup plan.
Pack a bottle brush, travel-size baby-safe detergent, and microwave steam bags if you're staying somewhere with a microwave. If you're camping or in an emergency situation, boiling remains the most reliable method. You just need a pot, water, and a heat source.
For detailed guidance on cleaning bottles during disruptions, the CDC offers specific advice for emergency situations.
Yes, bottles need to be properly cleaned. But you also need to sleep. If you're so exhausted that you're making mistakes-forgetting to wash parts, reusing bottles without cleaning, or skipping sanitizing-then your system isn't working.
An infant bottle cleaner should make your life easier, not add another task to your mental load. If the process is so complicated or time-consuming that you're cutting corners, simplify it or automate it.
Your baby needs clean bottles. You need rest. Both are non-negotiable. Choose the system that delivers both. For many parents, capturing those precious newborn moments with professional newborn photography is easier to fit in when daily chores like bottle washing are streamlined.
Your infant bottle cleaner should handle more than just bottles. Breast pump flanges, valves, and tubing need the same level of hygiene. Sippy cups, teething toys, and pacifiers also benefit from regular sanitizing.
Look for adjustable racks, multiple cleaning modes, and enough capacity to handle the variety of items you'll be washing. A machine that only fits standard bottles won't help when your baby transitions to a different bottle style or starts using a straw cup.
Let's be honest about the numbers.
Manual washing (per session):
Total active time: 22 minutes per session. If you're washing 3 times a day, that's over an hour of active work plus counter space occupied all day.
Dishwasher (per load):
Total active time: 10 minutes, but you're running 1–2 loads a day and waiting 90 minutes between feeds.
Automated 4-in-1 system (per cycle):
Total active time: 3 minutes. Everything else happens while you're feeding, sleeping, or doing literally anything else.
The time savings are real. An automated infant bottle cleaner doesn't just clean bottles. It gives you back hours every week to spend on your baby, your partner, or yourself.
An infant bottle cleaner isn't glamorous, but it's essential. Whether you choose a brush, a sterilizer, or a fully automated system depends on your volume, your space, and how much time you're willing to spend on this one chore. The right tool makes bottle-feeding safer and far less relentless. If you're ready to take bottle washing off your plate entirely, nuviebaby builds automated systems designed by parents who've been exactly where you are-and decided there had to be a better way.
Find the best cleaning tablets for baby bottles. Compare formulas, safety standards, and what really works for busy parents in ...

Looking for an avent bottle cleaner solution? Learn the best cleaning methods, products, and what actually works for Avent bott...

White spots or cloudy film on bottles after washing? It's mineral deposit from tap water, and in most cases you can sort it out...

